
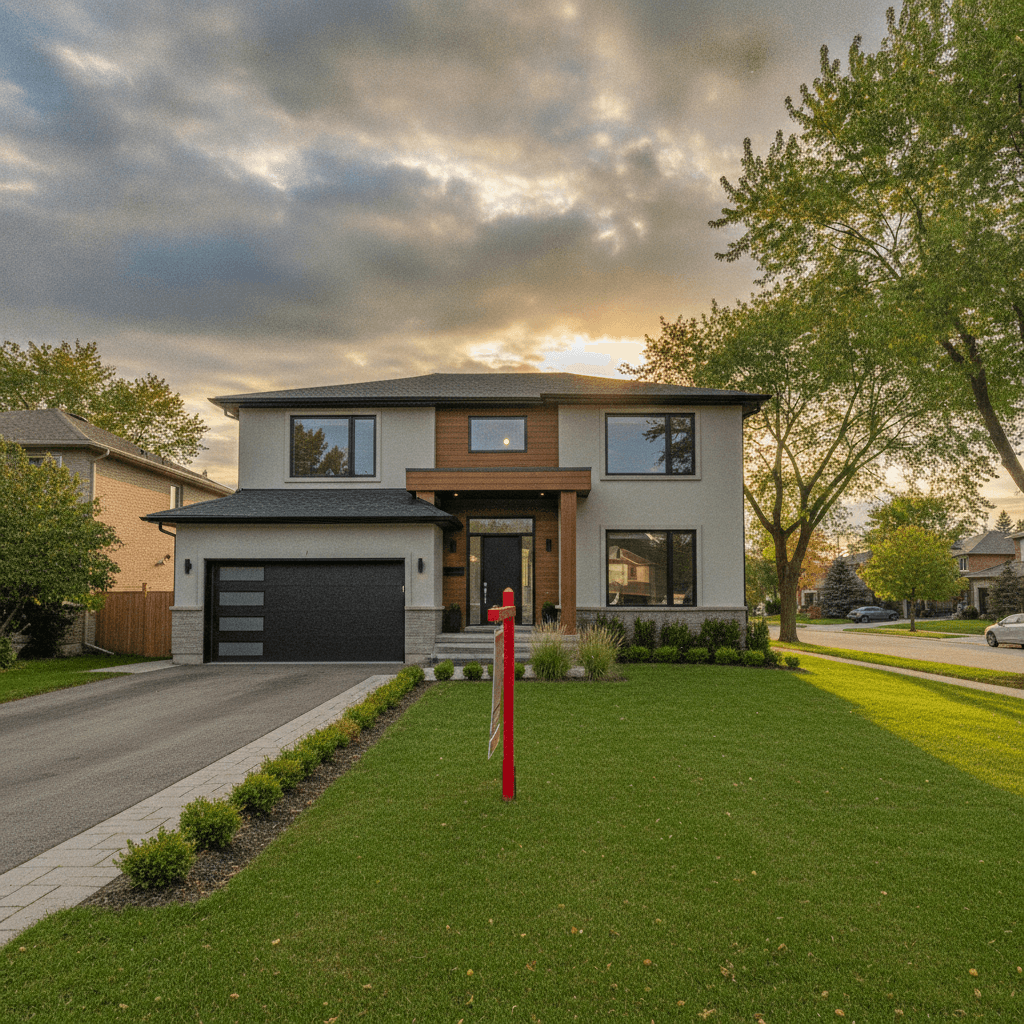
The cost to sell a house is the combined outlay for preparation, marketing, professional services, and closing adjustments. For Brampton sellers, mapping each category early clarifies your net proceeds and informs timing. With a tight plan and the right pros, you protect equity and move with confidence.
By Maunil Shah — Sales Representative, HomeLife/Miracle Realty Ltd., Brokerage
Last updated: 2026-07-06
Above-Fold Section
Selling costs cluster into four buckets: prep, marketing, professional services, and closing adjustments. Prioritize high-ROI tasks, time your launch to buyer demand, and track every decision against your target net. This clarity helps Brampton homeowners reduce concessions and move on schedule.
You want practical control fast. Here’s how to stay on top from day one:
- Prep smart: fix safety issues, refresh paint/caulking, declutter, and deep clean.
- Market well: bright photos, compelling listing copy, and broad online reach.
- Lean on pros: reliable legal support and an experienced local representative.
- Know your net: estimate proceeds after your mortgage and adjustments.
- Time it right: launch when your micro-area shows peak activity.
Fast start checklist for Brampton sellers:
- Request an address-based valuation, then refine with an on-site walkthrough.
- Knock out 10 quick fixes (leaks, loose hardware, scuffs) in a single work session.
- Stage three rooms that sell: living room, kitchen, primary bedroom.
- Capture high-resolution photos and a clear floor plan during bright daylight.
- Stack early showings over a 3-day window and review feedback within 48–72 hours.
Quick Summary
To manage the cost to sell a house, budget by category, trim low-impact spending, and keep speed-to-feedback high in week one. Pair realistic pricing with standout presentation. This approach typically shortens days on market and cuts inspection-related concessions.
- Primary goal: protect net proceeds, not just chase top-line price.
- Key inputs: current value estimate, days-on-market trend, and target closing date.
- Biggest levers: presentation quality, market exposure, and negotiation structure.
- Hidden factors: repair credits, re-inspections, and schedule overlaps.
- Decision checkpoint: recalibrate after the first 7–10 days of buyer feedback.

What Is the Cost to Sell a House?
The cost to sell a house includes pre-list prep, marketing assets, professional services, and closing-day adjustments. You control many of these by prioritizing high-ROI fixes, using quality media, and coordinating tasks on a tight schedule with experienced local pros.
When most sellers ask what it “really” costs to sell, they mean: what’s my net? Net proceeds are your sale price minus your mortgage balance and selling expenses. That number funds your next down payment, move, or investments. Managing inputs to protect that number is the job.
- Preparation: deep cleaning, paint touch-ups, caulking, minor repairs, and light staging.
- Marketing: professional photography, polished listing copy, and broad online distribution.
- Professional services: legal review, conveyancing, and transaction coordination.
- Closing adjustments: property tax proration, utility readings, and inclusions/exclusions.
In our experience with Brampton listings, a 14–21 day pre-list runway improves photo quality, increases showing volume in week one, and reduces last-minute expenses at closing.
Why Home Sale Costs Matter
These costs determine your net proceeds and next-home buying power. Small, early choices—fixing top issues, staging key rooms, and timing your launch—often translate into fewer concessions and cleaner terms, which can materially improve your bottom line.
Think chain reaction. A small leak found during inspection can trigger re-visits, delayed timelines, and negotiation stress. Fix it before launch, and you often see faster offers with simpler terms. The first 7–10 days are pivotal; momentum here usually sets the tone for the entire deal.
- Momentum: stacked showings in week one lead to stronger offers and fewer credits.
- Confidence: receipts and upgrade records reduce buyer uncertainty and requests.
- Negotiation: documented condition supports firmer responses to repair asks.
- Timing: aligned sale/purchase dates prevent storage or temporary housing.
We’ve found that consistent presentation (lights on, blinds open, scent-free showings) increases showing-to-offer conversion and lowers the risk of overlap costs.
How Selling Costs Work from List to Close
Selling costs follow the timeline: pre-list work, on-market exposure, offer due diligence, and closing coordination. Track decisions at every phase. Responding to feedback within 24 hours keeps leverage high and reduces the chance of surprise expenses.
Pre-list runway: 14–21 days
- Declutter and deep clean; remove 25–30% of visible items for spacious photos.
- Confirm valuation with local comparables and recent days-on-market figures.
- Schedule photos, a basic floor plan, and light staging for three priority rooms.
On market: 7–30 days (varies by micro-area)
- Launch midweek and stack showings into the first weekend to build momentum.
- Review feedback every 48–72 hours and adjust presentation or terms quickly.
- Keep curb appeal fresh: mow, edge, and tidy entry daily during peak activity.
Offer and due diligence
- Evaluate full offer structure: price, timing, conditions, deposit, and inclusions.
- Prepare for inspection responses, repair asks, and potential re-inspections.
- Coordinate appraisals, buyer re-visits, and document requests without delay.
Closing coordination
- Confirm legal documents and closing-day logistics 7–10 days before possession.
- Arrange final utility readings and property tax adjustments.
- Plan move-out timing, key handoff, and a quick post-clean for handover.
When these steps run like a relay, you spend less and keep control. Clean handoffs prevent friction and late-stage costs.
Cost to Sell a House in Brampton: Expense Types
Break expenses into fixed (professional services), variable (time-on-market and concessions), and optional (presentation upgrades). Invest in presentation and exposure first; then limit low-ROI projects. This framework reliably improves buyer response without inflating total spend.
Fixed expenses
- Professional services: legal review, conveyancing, and closing coordination.
- Compliance items: required documents or permits where applicable.
- Move-out services: final cleaning and key handoff coordination.
Variable expenses
- Time-driven costs: storage, utility overlap, and temporary housing.
- Repair concessions: inspection credits or re-inspection visits.
- Offer dynamics: multiple offers can reduce concessions; slower markets may increase them.
Optional upgrades
- Light staging: neutral decor, minimal art, and tidy surfaces.
- Cosmetic tune-ups: paint touch-ups, caulking, hardware refresh.
- Premium media: a twilight exterior or a short lifestyle reel.
Optional doesn’t mean unnecessary; the right optional upgrade often saves multiples of its own cost during negotiations.
Selling Pathways Compared (Agent, FSBO, Cash/Instant)
Most homeowners choose full-service representation for pricing, marketing, and negotiation expertise. FSBO demands time and risk management. Cash or instant-offer options trade potential price for speed and certainty. Choose based on effort, control, timeline, and risk tolerance.
| Pathway | Effort | Control | Timeline | Common Risks | Best For |
|---|---|---|---|---|---|
| Agent-assisted | Low–Medium | High with guidance | Market-dependent | Overpricing, slow response to feedback | Maximizing net with expert help |
| FSBO | High | High (solo) | Often longer | Legal gaps, weak exposure, negotiation errors | Experienced sellers with time |
| Cash/instant | Low | Medium | Fast | Lower potential sale price | Urgent timelines, condition issues |
Whichever route you take, focus on net proceeds. A slightly longer path that attracts a stronger, cleaner offer can be worth the wait.
Best Practices to Reduce Your Net Selling Costs
Plan 3–4 weeks ahead, fix the top issues early, and invest in standout media. Keep showings consistent, respond to feedback within 24 hours, and negotiate with documentation in hand. These moves reduce concessions and protect your bottom line.
Actionable playbook
- Audit first: walk your home with a buyer’s eyes and list 10 fixes.
- Batch work: complete multiple repairs in one visit to limit rework.
- Stage the “money rooms”: living room, kitchen, primary bedroom.
- Master the light: schedule photos during bright daylight; open blinds for showings.
- Set rules: shoes off, lights on, scent-free—repeatable, friendly showings.
- Document clearly: warranties, permits, manuals, and upgrade notes.
- Keep a 24-hour rhythm: reply to inquiries and feedback the same day.
Local considerations for Brampton
- Plan showing windows around commuter patterns near Torbram corridors; traffic at Torbram Rd at Williams Pky can affect arrival times.
- Leverage seasonal light from late spring to early fall; winter listings need stronger interior lighting.
- For transit-minded buyers, spotlight proximity to Williams - Zum Bovaird Station Stop SB in the description.
Small, well-sequenced steps compound. Momentum in the first 7–10 days typically lowers the chance of inspection credits or schedule overlap costs.
Tools and Resources for Brampton Sellers
Use a quick valuation, targeted property search, and week-by-week checklists to control the cost to sell a house. Pair these with neighborhood data and tight coordination from a local pro to shorten timelines and avoid low-ROI spending.
- Start with an address-based value estimate to set expectations and strategy.
- Study active and recent-sold comparables within a one-mile radius when possible.
- Use a seller checklist to structure 14–21 days of pre-list tasks and week-one showings—see this practical Brampton home selling checklist for ideas.
- Review fee frameworks to understand where representation and legal support fit into your plan; a broad overview like this realtor selling fees guide can help structure your thinking.
- Walk through the end-to-end process with a simple overview, such as a concise selling home guide, then tailor it to your micro-area.

When simple tools meet expert guidance, you move from reactive to proactive—protecting both time and equity.
Case Studies: How Brampton Sellers Protected Their Net
Sellers who plan 2–3 weeks ahead, fix the top issues, and launch with standout media usually attract stronger offers with fewer credits. These mini scenarios show how timing, presentation, and clean documentation translate into better net proceeds.
The 3-room refresh
A semi-detached home in a family-friendly pocket needed light staging and paint touch-ups. We focused on the living room, kitchen, and primary suite, then scheduled bright-day photos. In the first weekend, stacked showings produced multiple offers, limiting repair asks and overlap costs.
The early-inspection strategy
A detached home with an older roof chose a pre-list inspection and transparent disclosures. We priced with condition in mind and shared repair documentation up front. Buyers responded with cleaner terms and fewer post-offer requests, protecting the seller’s net.
The calendar sync
A townhouse seller needed a tight purchase-and-sale timeline. We launched midweek, collected feedback across the first 72 hours, and coordinated closing dates to avoid storage or temporary housing. The synchronized plan reduced duplicate costs and closed on schedule.
Frequently Asked Questions
Most seller questions focus on prep priorities, timelines, and how offer terms affect net. Control what you can: presentation, speed-to-feedback, and clean documentation. These three habits consistently reduce concessions and keep timelines on track.
What should I fix before listing?
Start with function and safety—leaks, loose railings, and broken fixtures. Then handle high-visibility touch-ups like paint, caulking, grout, and a deep clean. Light staging in the living room, kitchen, and primary bedroom improves first impressions and reduces inspection-related concessions.
How long should my home be on the market?
It varies by micro-area, season, and condition. Aim to concentrate showings in the first 7–10 days, review feedback every 48–72 hours, and adjust presentation or terms quickly. Sustainable interest with clean, timely offers is the real target—not simply more days online.
Do I need staging to sell?
Full staging isn’t mandatory. Decluttering, deep cleaning, and light staging in three key rooms often deliver most of the value. Neutral decor and bright lighting help buyers visualize the space, improving offer quality without over-investing in extras.
How do offers affect my net proceeds?
Look beyond the price. Closing date, conditions, requested repairs, inclusions, and deposit strength all matter. Cleaner terms can be worth more than a slightly higher price that introduces delays or large concessions. Choose the offer that best protects your timeline and net.
Conclusion and Next Steps
Control what you can control: preparation, presentation, and response speed. Use local data to price confidently and negotiate from documented facts. This approach reduces surprises, protects your timeline, and helps you keep more equity when you sell in Brampton.
Key Takeaways
- Budget by category—prep, marketing, professional services, and adjustments.
- Sequence 14–21 days of pre-list tasks and stack early showings in week one.
- Invest in standout photos and clear documentation to cut concessions.
- Align sale and purchase calendars to avoid storage and temporary housing.
- Recalibrate strategy after 7–10 days of buyer feedback to maintain momentum.
Need a clear, local plan? Let’s map your valuation, a room-by-room prep list, and an on-market strategy for your Brampton home. We’ll build a timeline that protects your net and your move.
Ready to get started? Book a discovery session in Brampton and let’s tailor your sale plan around your goals and timing.